

git worktree add: Create Git Worktrees — Complete Guide
The git worktree add command creates a new working directory linked to your current Git repository. It allows you to check out any existing branch, commit, or create a brand-new branch in a separate folder simultaneously.
Basic Syntax
<path> is the target directory where the new worktree will live (relative or absolute). If <commit-ish> is omitted, Git creates a new branch based on current HEAD matching the basename of the path.
1. Add a worktree from an existing branch
If a branch named feature/login already exists in your repository:
Preparing worktree (checking out 'feature/login')
HEAD is now at a1b2c3d Add login form validation
projects/
├── project/                <-- primary worktree [main]
└── project-feature-login/  <-- linked worktree [feature/login]
2. Create a new branch and worktree simultaneously
Use the -b <new-branch> flag to create a new branch from a starting point (e.g. main):
Preparing worktree (new branch 'feature/auth')
HEAD is now at f4e5d6c Merge pull request #142 from main
3. Checkout a detached worktree or specific commit
For inspecting an older release tag or commit hash without creating a permanent branch, use --detach:
Complete practical workflow
Here is a realistic day-to-day workflow for starting a new task without interrupting ongoing work:
Common Command Flags
| Flag | Purpose |
|---|---|
| -b <new-branch> | Create and checkout a new branch in the new worktree |
| -B <new-branch> | Force create or reset the branch to the start point |
| --detach | Checkout HEAD in a detached state (no branch attached) |
| --lock | Lock the worktree immediately upon creation |
| --reason <text> | Explanation string recorded with the lock |
| --no-checkout | Suppress checkout of the working tree files |
Common Mistakes & Restrictions
Branch Already Checked Out Error
Choosing directory paths
../project-feature rather than nesting worktrees inside each other. Nesting can confuse IDE file watchers and cause duplicate git tracking errors.Create Worktree
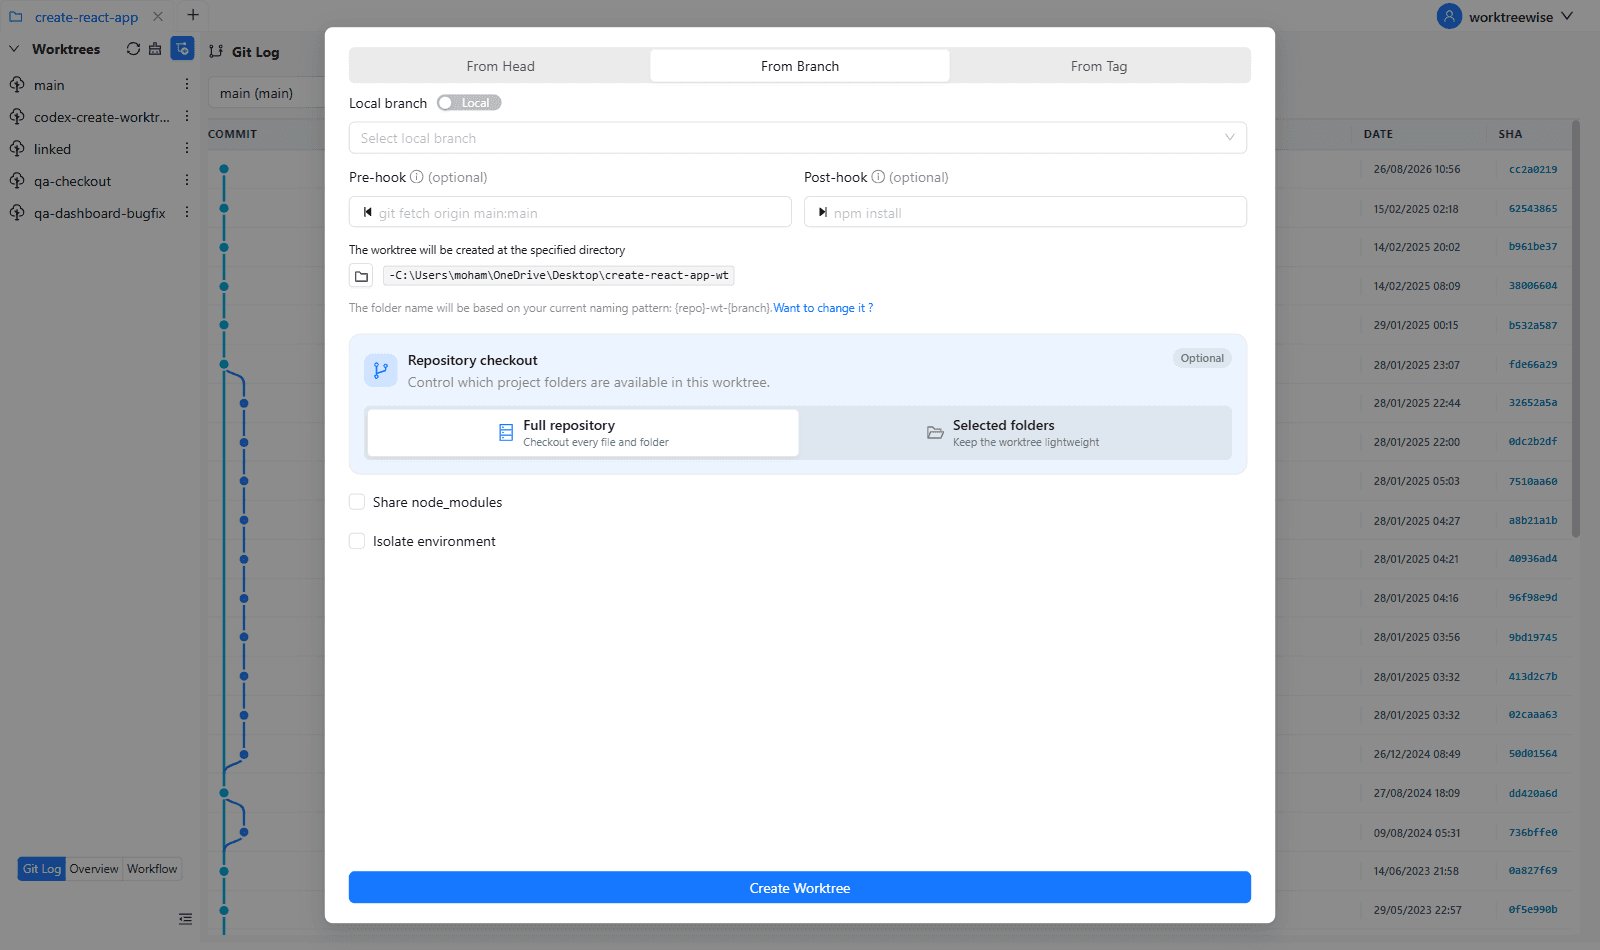
With WorktreeWise, you can create worktrees from HEAD, any existing branch, tag, or commit in 1 click. WorktreeWise automatically creates the folder according to your custom naming pattern and triggers your configured setup hooks.
Next steps & related commands
After creating your worktree, learn how to inspect it with git worktree list or safely remove it after merging with git worktree remove.